Monitor helpdesk tickets in the LogMeIn Resolve Console
LogMeIn Resolve allows you to create, manage, and monitor the status of helpdesk tickets. Here's how you can view and filter these tickets in the Console.
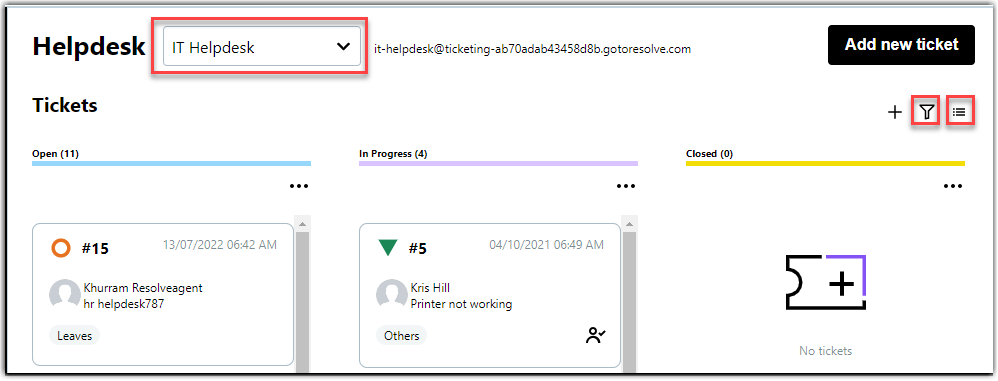
Depending on whose tickets you want to see, you can switch between card view and list view.
Display tickets in card view
Provides a quick overview of tickets that are most relevant to your day-to-day work.
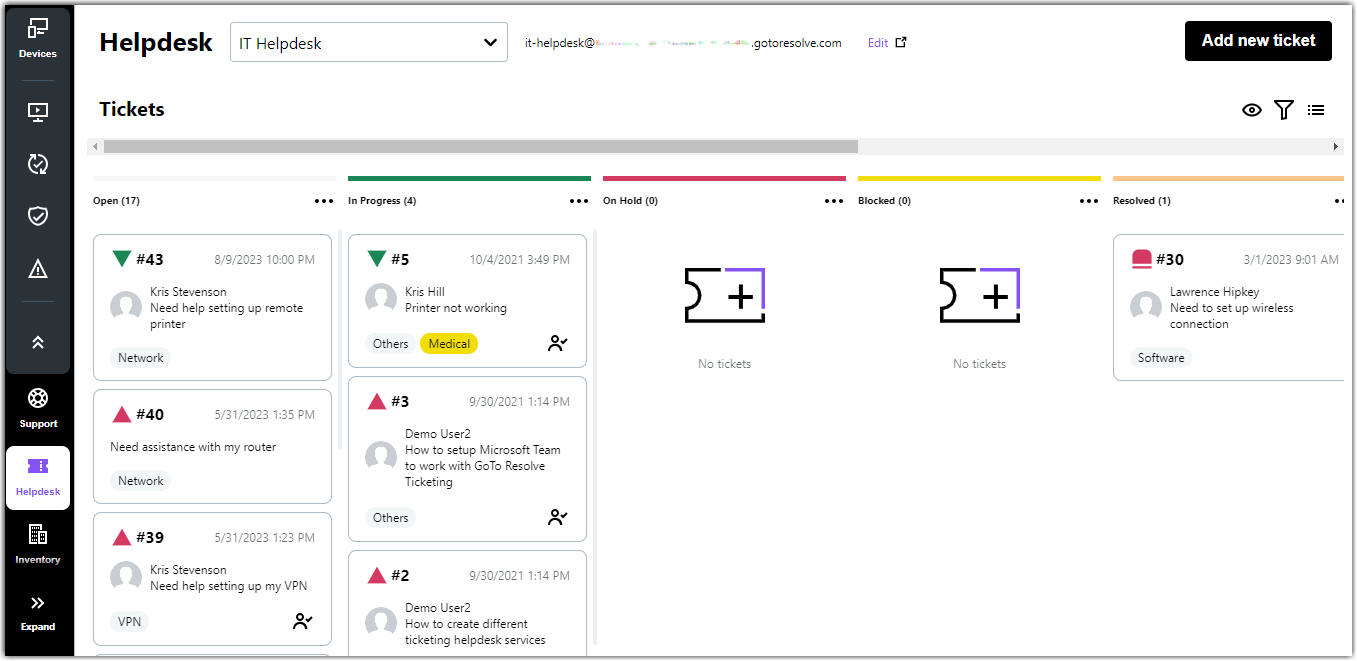
These tickets are grouped into columns based on their statuses. Each column displays up to 10 tickets depending on your sorting preferences. By default, all statuses are displayed in columns that you set up in GoTo Admin. To see all tickets of a category, click the See more incidents in list view link under the respective column.
By default, you can see the following ticket categories in card view:
| Column | Description |
|---|---|
| Open | Tickets that are ready for agents to pick up. |
| In Progress | Tickets that agents have started working on.
Note: Only those tickets are listed here that agents have manually set to In Progress status. See Edit LogMeIn Resolve tickets in the Console.
|
| Closed | Tickets that agents have finished working on.
Note: Tickets in Resolved and Cancelled statuses are not listed here.
|
| Cancelled | Tickets that were manually set to Cancelled status as they no longer require assistance.
Note: Cancelled tickets will not be closed automatically.
|
| Blocked | Tickets that were manually set to Blocked status. |
| On Hold | Tickets that were manually set to On Hold status. |
| Resolved | Tickets that were manually set to Resolved status.
Note: Resolved tickets will not be closed automatically.
|
| Backlog | Tickets that were manually set to Backlog status as they are less urgent to deal with. |
Why are my tickets always displayed in list view?
In card view, to view the tickets of All helpdesk services, you must have the same ticket statuses (with the same name and type) defined across all your helpdesk services. Otherwise, tickets will be automatically displayed in list view. For example, you may have a status, called "In progress" with "open" type in your HR helpdesk service, and another status called "In progress" with blocked type in your IT helpdesk service. In this case, when there is a mismatch between statuses, you will not be able to see All your helpdesk tickets in cad view.
Hide, unhide, or change the color of columns
Each column represents a ticket status that you can configure in GoTo Admin. By default, you have the following ticket statuses displayed in card view:
- Open
- In Progress
- On Hold
- Blocked
- Resolved
- Closed
- Cancelled
- Merged
- To add or remove a column, select its name.
- To change the color that you see at the top of each column, select the color picker on the left of a column's name and then choose a new color.
Display tickets in list view
List view displays all tickets in your organization.

To display only the columns that are relevant to you, use the Column selector icon  above the list of tickets. You can drag and drop column names to reorganize them or use the eye icon on the right to show or hide a column. Apply your changes to display the new layout of your ticket list.
By default, the list view provides the following information about your tickets:
| Column | Description |
|---|---|
| Ticket ID | Internal ID of the helpdesk ticket. |
| Tenant | Name of the tenant the ticket is assigned to. |
| Updated | New tickets that either an end-user or another agent creates, and updated tickets are marked as unread. This is highlighted by an exclamation mark in the Updated column. Essentially, if you see an exclamation mark in this field, you should take action on the ticket. |
| Requested by | The user who created the ticket or the user on whose behalf the ticket was created. |
| Requester's email | The email address of the user who requested the ticket. |
| Subject | A short description of the issue. |
| Category | Category of the tickets as defined in GoTo Admin. |
| Status | Status of the ticket that describes the agent's progress. The following statuses are available:
|
| Assigned to | The agent who is assigned to the ticket. |
| Priority | Priority of the tickets. |
| Due date | Time and date by when the ticket should be resolved. |
| Last updated | The date and time when the ticket was last updated with the following information:
|
| Updated by | The name of the agent who last updated the ticket. |
| Created at | Date and time when the ticket was created. |
| Helpdesk service | The name of the helpdesk service where the ticket was created. |
| Labels | Labels added to the ticket. |
Filtering tickets
There are multiple ways to filter helpdesk tickets:
- Switch between list view
 and card view
 to display all tickets or only those ones that are relevant for you.
 - Select a service form the Helpdesk service drop-down at the top of the page to view the tickets of a selected channel only.
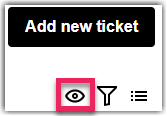
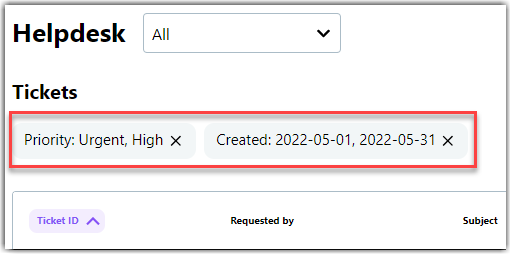
- Filter the current view of tickets. Choose the funnel icon
 above the list of tickets to open the Filters panel and select the relevant filters:
Filter Description Priority Priority of the tickets. You can select multiple values. Status Status of the tickets as defined in GoTo Admin. You can select multiple values. This filter is available in list view only. When the tickets of All helpdesk services are displayed, and you select a custom status, which is available in multiple services, then tickets with the selected status from all applicable services will be listed. Created Define a period of time when tickets were created. Due date Define a period of time when tickets were due. Category Category of the tickets as defined in GoTo Admin. You can select a single category only by typing its name. Requested by The person who created the ticket. You can select a single person only by typing their name. Labels Select the labels of the tickets that you want to list. Assigned to The agent who is assigned to the ticket. You can select a single person only by typing their name.
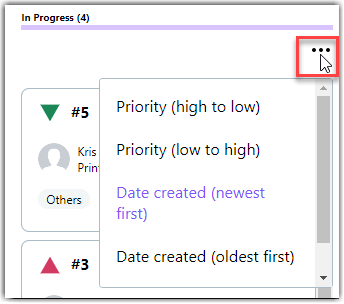
Sorting tickets
 icon at the top of a column. Then select a sorting option.